Flutter Splash Screen Animation Explained
This article explains how to build a production style splash screen animation in Flutter. Using a Swiggy inspired design, I cover animation controllers, tweens, intervals, text animations, Hero transitions, and navigation making Flutter animations easier to understand for beginners.
In this post, I will explain how to build a production style splash screen animation in Flutter.
Spliting of Animation
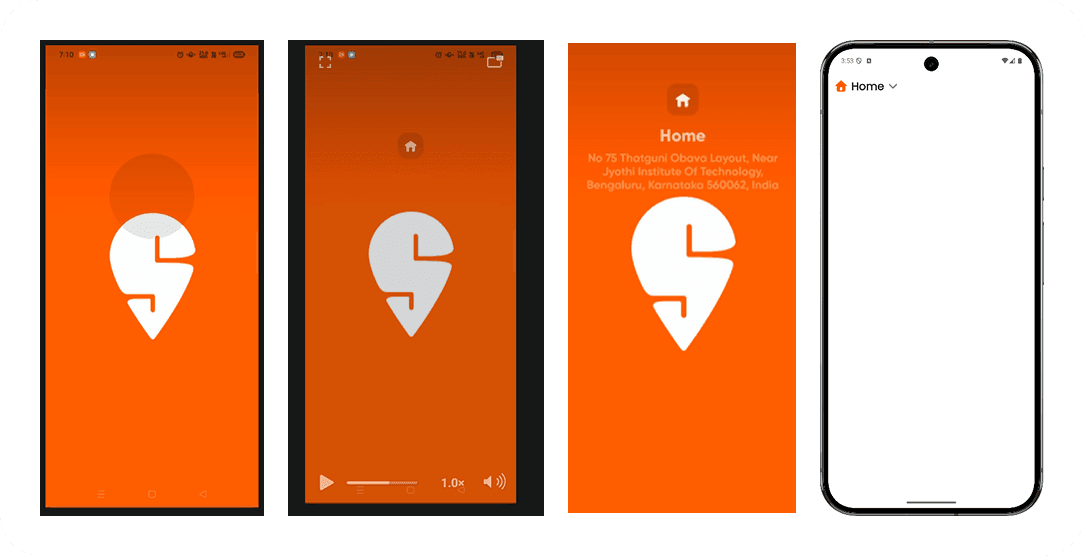
- The Scaling of the glass container (big → normal)
- The icon fade in (delayed)
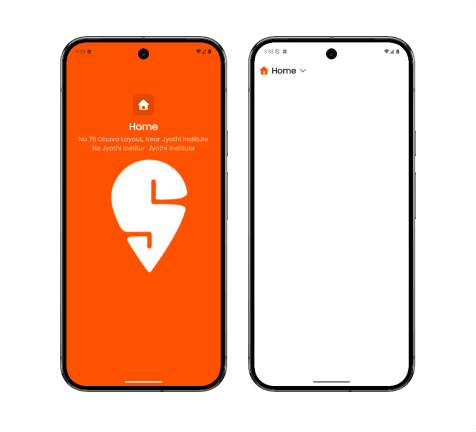
- The text fade + slide in (delayed)
- Transition to Home Screen (with Hero)
AnimationController: the timeline manager
late AnimationController controller;

controller = AnimationController(
  vsync: this,
  duration: Duration(seconds: 1),
);
Think of the controller as: A timeline that moves from 0 → 1
- All animations are mapped onto this timeline.
Scaling the glass container (big → normal)
- The first animation was scaling the glass container.
scaleAnimation = Tween<double>(
  begin: 5.0,
  end: 1.0,
).animate(
  CurvedAnimation(
    parent: controller,
    curve: Curves.easeInOut,
  ),
);- At time
0→ scale is5.0 - At time
1→ scale is1.0 - The Tween does value mapping, not timing.
Why Transform.scale is used
Transform.scale(
  scale: scaleAnimation.value,
  child: ...
)- Transform changes how a widget is drawn, not how it is laid out. This is important because:
- Layout doesn’t break
- No overflow issues
- Smooth GPU-friendly animation
Using AnimatedBuilder (and why it matters)
Instead of calling setState() on every frame, I used:
AnimatedBuilder(
  animation: controller,
  builder: (context, _) {
    return Transform.scale(...);
  },
);
AnimatedBuilder is more efficient than setState because:
- It only rebuilds the specific widget being animated.
- It avoids unnecessary rebuilds of the entire widget tree.
Delaying the icon appearance using Interval
- The icon should not appear immediately.
- So I used Interval to delay its opacity animation.
opacityAnimation = Tween<double>(
  begin: 0.0,
  end: 1.0,
).animate(
  CurvedAnimation(
    parent: controller,
    curve: Interval(0.9, 1.0, curve: Curves.easeOut),
  ),
);- Icon opacity starts animating at 90% of the timeline
- Before that, it stays invisible
Intervalslices the timeline, not the value.
Animating text (fade + slide, not scale)
textOpacity = Tween<double>(0.0, 1.0).animate(
  CurvedAnimation(
    parent: controller,
    curve: Interval(0.85, 1.0),
  ),
);

textSlide = Tween<double>(12.0, 0.0).animate(
  CurvedAnimation(
    parent: controller,
    curve: Interval(0.85, 1.0),
  ),
);- And applied it using:
Transform.translate(
  offset: Offset(0, textSlide.value),
  child: Opacity(
    opacity: textOpacity.value,
    child: ...
  ),
);
Transitioning to Home Screen (correct way)
- Instead of using Future.delayed, I listened to animation status:
controller.addStatusListener((status) {
  if (status == AnimationStatus.completed) {
    Navigator.pushReplacement(
      context,
      PageRouteBuilder(
        pageBuilder: (_, _, _) => HomeScreen(),
      ),
    );
  }
});
This approach is more reliable than using Future.delayed because it ensures the transition happens only after the animation is fully completed.
Shared element transition using Hero
The home icon moves from Splash → AppBar using Hero.
Hero(
  tag: 'hero',
  child: Icon(...)
)
Making the Hero movement curved (premium feel)
- By default, Hero moves linearly. To add a natural curve, I used:
createRectTween: (begin, end) {
  return MaterialRectArcTween(begin: begin, end: end);
},
This follows Material Design motion rules and feels much smoother.
Recommended for you
Mar 18, 2026
How I Find Logo Inspiration (Without Using Generators)
This blog explains a simple way to find logo inspiration by understanding patterns instead of relying on logo generators.
Jan 24, 2026
Beginner Flutter Mistake- Fonts Worked in Debug, Broke in APK
A common pitfall when using custom fonts in Flutter apps is that they may work perfectly in debug mode but break in the release APK. This blog post explores the reasons behind this issue and how to fix it.